Windows 95 Tiling Wallpaper With OpenGL
Morning, OpenGL friends. Today I’m going to take you back… way back. To a simpler time. A time when operating systems fit on a dozen floppy disks. 💾 When your shiny new Gateway 2000 sported a lightning-fast 56k modem and 64 MB of RAM. Today we’re going to use OpenGL to render something the kids these days could never possibly appreciate. In all its 256 color glory, it stands as a relic of a bygone era. Behold!
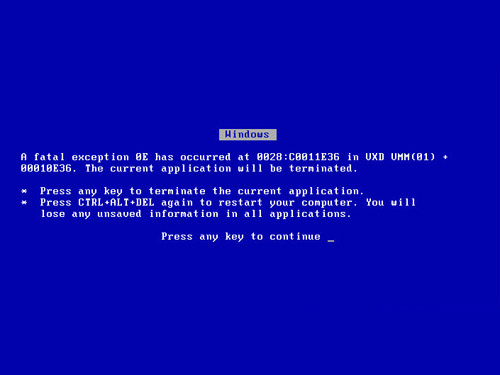
Err–sorry. I didn’t expect that to happen. Let’s try that again. Behold!
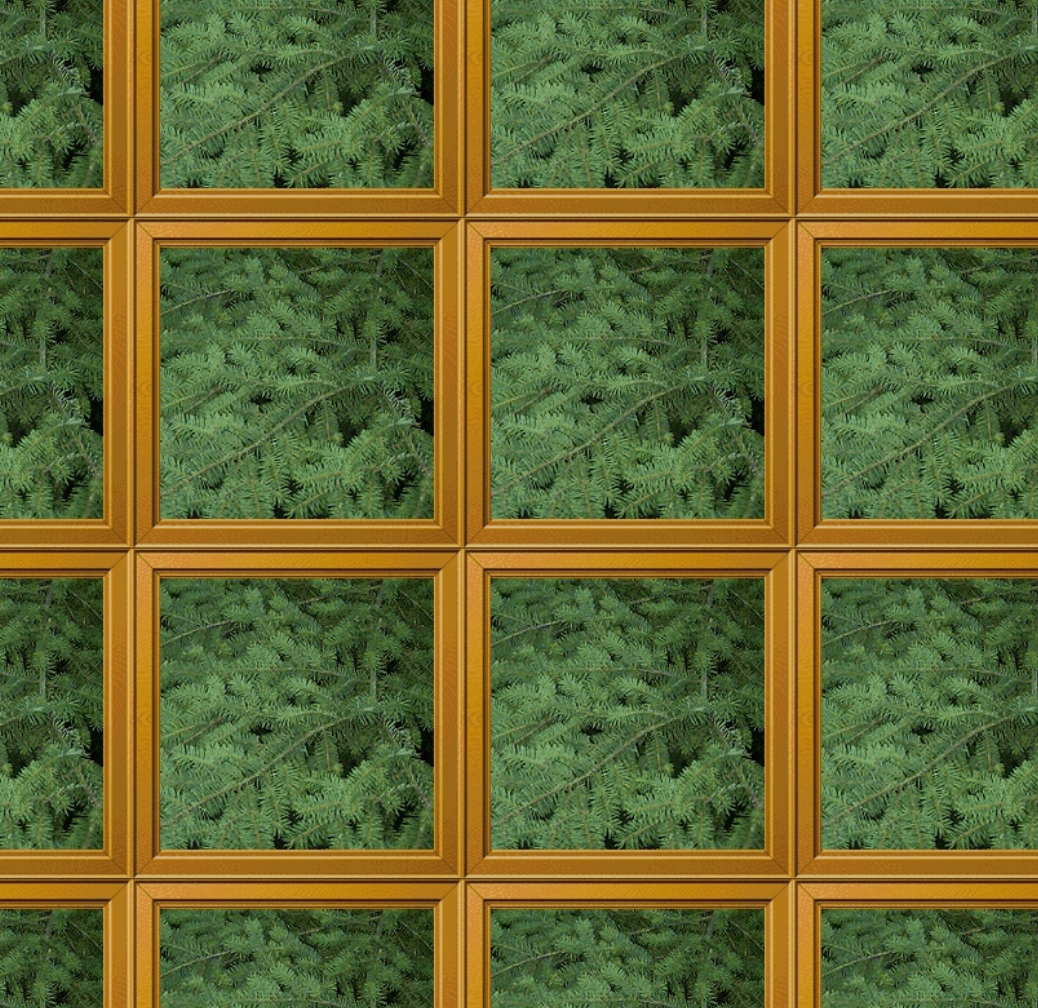
That’s better! Today we’re going to learn how to set up our textures to tile… not unlike the desktop wallpaper of a certain ancient operating system.
This is yet another installment of my series of tutorials on OpenGL for 2D games. Here are links to all the previous tutorials.
- Just Draw A Stupid Triangle With OpenGL
- Making A Dopey Circle Thing With OpenGL
- Just Interpolate Already With OpenGL
- Make A Stinking Sprite With OpenGL
- Distorting Sprites’ UV Mappings With OpenGL
- Silly Spiky Stars And Donuts With OpenGL
- Rounding All The Corners With OpenGL
- Dirt Basic Animation With OpenGL
As always, you’ll need to have your project folder set up in a particular way to get the code to run on your machine. Go back and try the first tutorial if you haven’t yet. You’ll also really want to check out the tutorials on uv mapping and distorting sprites. Once you’ve done those, today’s tutorial should be a breeze.
Le Code
Here it is! Copy/paste into a new file: opengl_examples/windows_95_wallpaper.html.
<!DOCTYPE html>
<html lang="en">
  <head>
    <title>Windows 95 Tiling Wallpaper With OpenGL</title>
    <meta charset="utf-8">
    <meta name="viewport" content="width=device-width, user-scalable=no, minimum-scale=1.0, maximum-scale=1.0">
    <style>
      body {
        color: #ffffff;
        background-color: #000000;
        margin: 0px;
        overflow: hidden;
      }
    </style>
  </head>
  <body>

    <div id="container"></div>

    <script src="js/three.js"></script>
    <script src="js/Detector.js"></script>

    <script>

      var webGlSupported = Detector.webgl;
      if (!webGlSupported) {
        Detector.addGetWebGLMessage();
      }

      var textureLoader = undefined;
      var texture = undefined;

      var container = undefined;
      var camera = undefined;
      var scene = undefined;
      var renderer = undefined;

      initializeTextureLoader();
      loadTexture();

      function initializeTextureLoader() {
        textureLoader = new THREE.TextureLoader();
      }

      function loadTexture() {
        // 1
        var url = "images/windows_95_forest.jpg";
        var onFinishedLoading = resumeSetup;
        var onProgress = function(progressEvent) {};
        var onError = function(errorEvent) {console.error("Error loading texture", errorEvent);};

        texture = textureLoader.load(url, onFinishedLoading, onProgress, onError);

        // 4
        texture.wrapS = THREE.RepeatWrapping;
        texture.wrapT = THREE.RepeatWrapping;
      }

      function resumeSetup() {
        initializeCamera();
        initializeScene();
        initializeRenderer();
        renderScene();
      }

      function initializeCamera() {
        var aspectRatio = window.innerWidth / window.innerHeight;
        var screenWidth = undefined;
        var screenHeight = undefined;
        if (aspectRatio > 1.0) {
          screenWidth = 320.0 * aspectRatio;
          screenHeight = 320.0;
        } else {
          screenWidth = 320.0;
          screenHeight = 320.0 / aspectRatio;
        }

        var nearPlane = 1.0;
        var farPlane = 1000.0;
        camera = new THREE.OrthographicCamera(
          -0.5 * screenWidth,
          0.5 * screenWidth,
          0.5 * screenHeight,
          -0.5 * screenHeight,

          nearPlane,
          farPlane
        );

        var distanceFromScene = 500.0;
        camera.position.set(0.0, 0.0, distanceFromScene);
      }

      function initializeScene() {
        scene = new THREE.Scene();

        var material = getMaterial();

        var geometry = getWallpaperGeometry();

        var mesh = new THREE.Mesh(geometry, material);
        mesh.position.set(0.0, 0.0, 0.0);
        scene.add(mesh);
      }

      function getMaterial() {
        return new THREE.MeshBasicMaterial({
          map: texture,
          side: THREE.DoubleSide,
          transparent: true
        });
      }

      // 2
      function getWallpaperGeometry() {
        var geometry = new THREE.Geometry();

        var size = 320.0;
        var halfSize = size * 0.5;

        var bottomLeftVertex = new THREE.Vector3(-halfSize, -halfSize, 0.0);
        var bottomRightVertex = new THREE.Vector3(halfSize, -halfSize, 0.0);
        var topLeftVertex = new THREE.Vector3(-halfSize, halfSize, 0.0);
        var topRightVertex = new THREE.Vector3(halfSize, halfSize, 0.0);

        geometry.vertices.push(bottomLeftVertex);
        geometry.vertices.push(bottomRightVertex);
        geometry.vertices.push(topLeftVertex);
        geometry.vertices.push(topRightVertex);

        var faceUvLayer = getFaceUvLayer();
        geometry.faceVertexUvs[0] = faceUvLayer;

        geometry.faces.push(new THREE.Face3(0, 1, 2));
        geometry.faces.push(new THREE.Face3(1, 2, 3));

        return geometry;
      }

      // 3
      function getFaceUvLayer() {

        var repititionsCount = 4.5;

        var bottomLeftUv = new THREE.Vector3(0.0, 0.0, 0.0);
        var bottomRightUv = new THREE.Vector3(repititionsCount, 0.0, 0.0);
        var topLeftUv = new THREE.Vector3(0.0, repititionsCount, 0.0);
        var topRightUv = new THREE.Vector3(repititionsCount, repititionsCount, 0.0);

        var faceUvLayer = [];

        faceUvLayer.push([
          bottomLeftUv,
          bottomRightUv,
          topLeftUv
        ]);

        faceUvLayer.push([
          bottomRightUv,
          topLeftUv,
          topRightUv
        ]);

        return faceUvLayer;
      }

      function initializeRenderer() {
        renderer = new THREE.WebGLRenderer();
        renderer.setPixelRatio(window.devicePixelRatio);
        renderer.setSize(window.innerWidth, window.innerHeight);

        container = document.getElementById("container");
        container.appendChild(renderer.domElement);
      }

      function renderScene() {
        renderer.render(scene, camera);
      }

    </script>

  </body>
</html>
Way cool. Now let’s talk about the new parts.
Where’d You Get That Wallpaper?
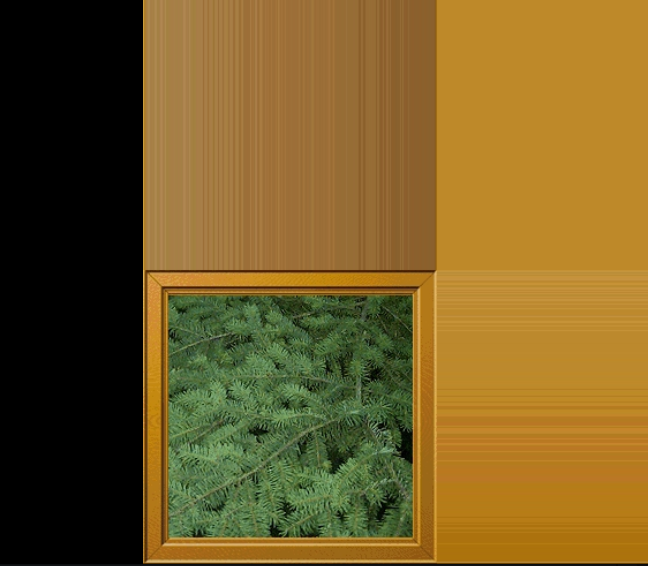
First, I guess you’ll need to download the image file we’re going to be tiling. You can click the image below to download it, and you can put it in the images folder along with all the other images.

Today’s tutorial is going to work a lot like the one where we made the poop sprite. Most of the code is the same. But of course today we’re not using poop. We’re using a classic objet d’art. So we’ll need to update the filename in the code accordingly.
// 1
var url = "images/windows_95_forest.jpg";
A Larger Canvas
The old poop sprite we made was only 160.0 units wide. We set up our coordinate system with a guaranteed visible area that is 320.0 units square. Why not use the whole thing? That’s what I set up in part // 2.
// 2
function getWallpaperGeometry() {
  var geometry = new THREE.Geometry();

  var size = 320.0;
  var halfSize = size * 0.5;

  var bottomLeftVertex = new THREE.Vector3(-halfSize, -halfSize, 0.0);
  var bottomRightVertex = new THREE.Vector3(halfSize, -halfSize, 0.0);
  var topLeftVertex = new THREE.Vector3(-halfSize, halfSize, 0.0);
  var topRightVertex = new THREE.Vector3(halfSize, halfSize, 0.0);

  geometry.vertices.push(bottomLeftVertex);
  geometry.vertices.push(bottomRightVertex);
  geometry.vertices.push(topLeftVertex);
  geometry.vertices.push(topRightVertex);
We want our mesh to stay centered, which is why I’m putting its lower-left corner at (-160.0, -160.0) and its upper-right corner at (160.0, 160.0). This is no different from the way I’ve been arranging sprites’ corner coordinates before; I just want this one to be larger so we can see more of that retro wallpaper.
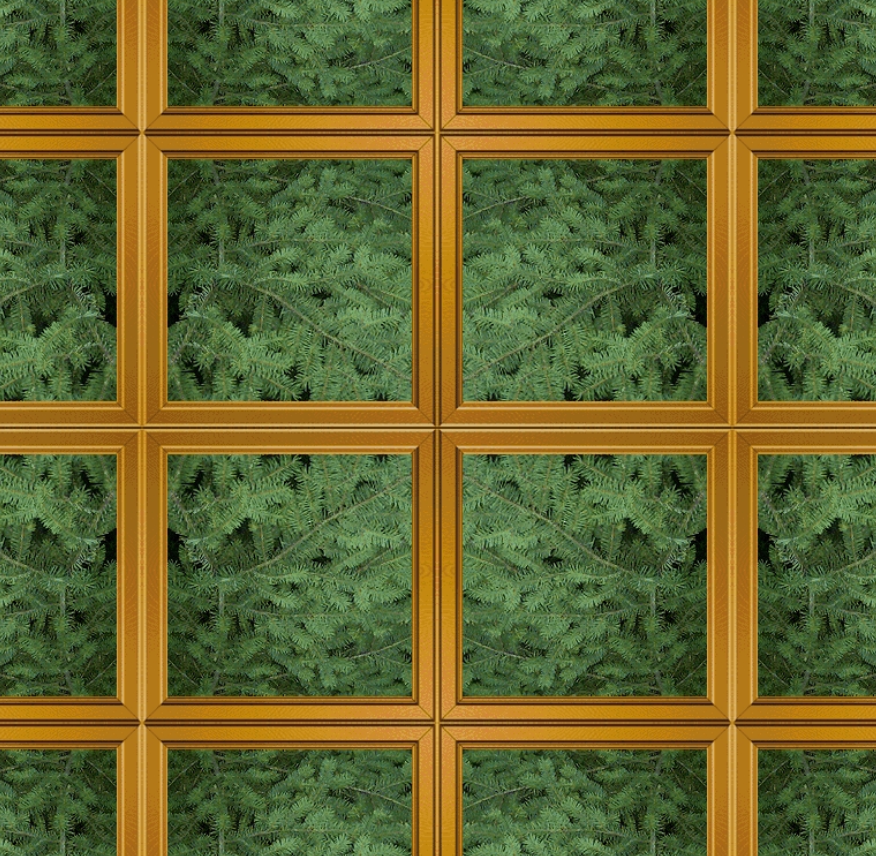
The Important Part: More UV Mapping
Okay, so we loaded up a different texture, and we made a larger mesh to project it onto… but how do we actually achieve that tiling effect? Once again, the answer has to do with the way we set up our uv mapping. That’s done in part // 3.
// 3
function getFaceUvLayer() {

  var repititionsCount = 4.5;

  var bottomLeftUv = new THREE.Vector3(0.0, 0.0, 0.0);
  var bottomRightUv = new THREE.Vector3(repititionsCount, 0.0, 0.0);
  var topLeftUv = new THREE.Vector3(0.0, repititionsCount, 0.0);
  var topRightUv = new THREE.Vector3(repititionsCount, repititionsCount, 0.0);
Let’s study this a little. We’ve defined a repititionsCount of 4.5, which of course means that we want our woodland window grid to be four-and-a-half panes wide and four-and-a-half panes tall. We’ve kept the bottomLeftUv at (0.0, 0.0), but we’ve gone in and replaced all of the 1.0 values with the repititionsCount value… which naturally sets them to 4.5.
In the past, all of the uv coordinates we’ve dealt with have been with values between 0.0 and 1.0. But what happens when we move outside of this range? When OpenGL is trying to figure out what color to paint a pixel, but that pixel is mapped to a location that falls outside of the source texture, what does it do?
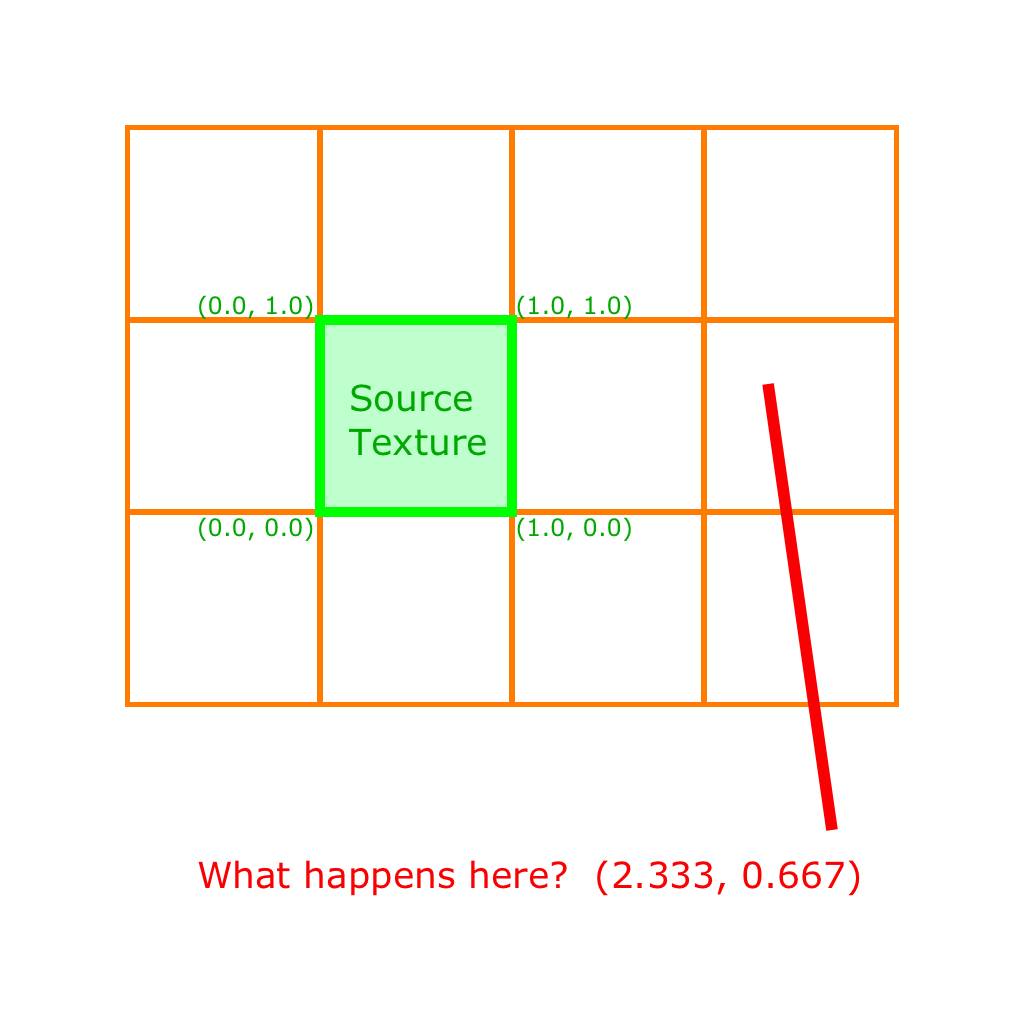
You’re probably thinking, “Aha! It just loops back to the start of the texture to create a tiling effect.” And you’re right! …As long as you’ve set OpenGL up to work that way.
It turns out there are actually multiple ways for OpenGL to handle the out of bounds situation. In three.js, you define which method to use in the Texture object. Let’s scroll way back up to where we created our texture.
Peet And Repeet Were Walking Down The Street
Here we are. Part // 4 is at the bottom of loadTexture.
  texture = textureLoader.load(url, onFinishedLoading, onProgress, onError);

  // 4
  texture.wrapS = THREE.RepeatWrapping;
  texture.wrapT = THREE.RepeatWrapping;
}
In three.js, all Texture objects have wrapS and wrapT properties. These names sound complicated, but they’re simply telling OpenGL what to do if it finds itself outside the 0.0 to 1.0 range for that Texture. wrapS tells it what to do horizontally, and wrapT tells it what to do vertically. There are three options:
THREE.ClampToEdgeWrapping
THREE.RepeatWrapping
THREE.MirroredRepeatWrapping
It turns out that the default value is THREE.ClampToEdgeWrapping. Let’s see how our mesh looks if we comment out the RepeatWrapping lines.
Heh. That’s a little silly. Looks like it’s just using the color of the last pixel on the edge of the texture. Hmm. So what does THREE.MirroredRepeatWrapping do then?
Aha. It’s a lot like RepeatWrapping; it just flips the orientation of the texture each time it repeats it.
You can also mix and match values for wrapS and wrapT.

Wicked.
The Power Of Powers Of Two
All these texture wrapping modes are pretty useful when it comes to building 2D games. But you may have noticed something about all the textures we’ve been using so far. Their dimensions are all powers of two (like 2x2, 128x128, 256x256, 32x1024, et cetera). No, this isn’t just because I’m a computer geek. It’s actually to avoid a limitation of OpenGL.
Apparently something about the way that texture data gets stored in hardware makes it costly to perform texture wrapping when your texture’s data doesn’t align neatly to a power of two boundary in memory. Rather than absorbing this cost with less efficient hardware, the architects of recent sets of OpenGL standards have simply elected to pass this software restriction down to us programmers. Eh… I guess we’ll manage. But if you’re ever wondering why your texture isn’t displaying, be sure to check its dimensions.
Wrapping Up
That pretty much does it. Texture wrapping modes, particularly the REPEAT mode, can be used to build all kinds of game elements. Obviously you can use them for backgrounds, but they also turn out to be pretty indispensable when we get to some of the more advanced OpenGL wizardry. For now, don’t forget to mess with the code I’ve provided. Try to get different numbers of repetitions on the different axes. And test out what happens when you map to negative uv coordinates.
Downloadables To Go
Click here to run the finished product!
And here’s a link to a downloadable version of the source code: windows_95_wallpaper.html. Note that you’ll need to run it from inside the folder structure that we set up in the first tutorial, and you’ll also need the image we’re using in its own images subfolder.